Navigation
Setting Up Polygon (MATIC)
This quick guide will teach you how to set up Polygon Mainnet for minting NFTs on the Polygon Network. By now you should have received a
prompt to add the Polygon Mainnet in your Web3 enabled wallet. In case you didn't, you should first ensure your wallet can add custom
networks. The best way to do that would be Googling your wallet name and if custom networks are enabled.
Your wallet should also be able to interact directly with contracts via Web3 JS. We're only integrating web functionality for Web3 enabled
wallets here. If you are on mobile it is best to open the website directly with your wallet's built-in browser if you are having issues.
Adding the Polygon Mainnet
As stated above, you should have had a wallet prompt asking you to add the mainnet if you have not already, or switch to it if you already
have. This looks like the following...
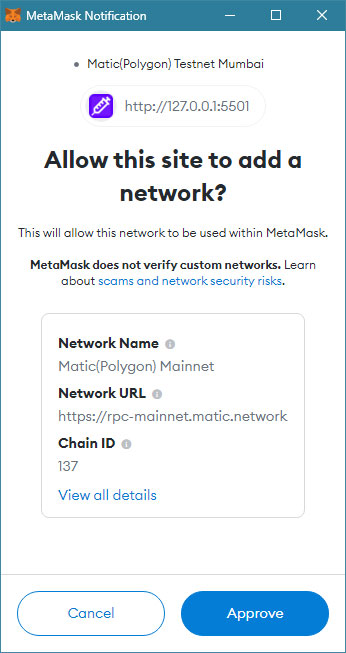
This should automatically add the networks to your wallet. If you do not automatically get prompted, you should search how to add a custom
network to your wallet, and use the following values for Polygon Mainnet...
- Network Name: Matic(Polygon) Mainnet
- RPC URL: https://polygon-rpc.com/
- Chain ID: 137
- Currency Symbol: MATIC
- Block Explorer URL: https://polygonscan.com/
If you're still having issues please let us know in our support channel in discord and we'll try to take a look. We recommend using MetaMask for all your dApp needs.
Bridging or Converting Currencies to MATIC on Polygon Mainnet
This is an important section as eventually you will need to have MATIC in your wallet on the Polygon Mainnet in order to interact
with the contract. We are implementing a lot of functionality with constant calls to the contracts and although gas will be fractions of
pennies, you still need MATIC in your wallet.
We are also offering mints for 50 MATIC between 2000-10000 mints, so having enough MATIC is key if you want to ensure you get a mint.
Polygon Bridge - Sending Currency to Polygon
The polygon network set up an incredible bridging system to convert your currency over to the Polygon Network. To do so head to https://wallet.polygon.technology/wallet and do one of the following options.
Swap for Gas (If you already have currency on Polygon)
There is a "Swap for Gas" button that will allow you to Swap a currency for free to Polygon on the mainnet. that is located in the
screenshot below...
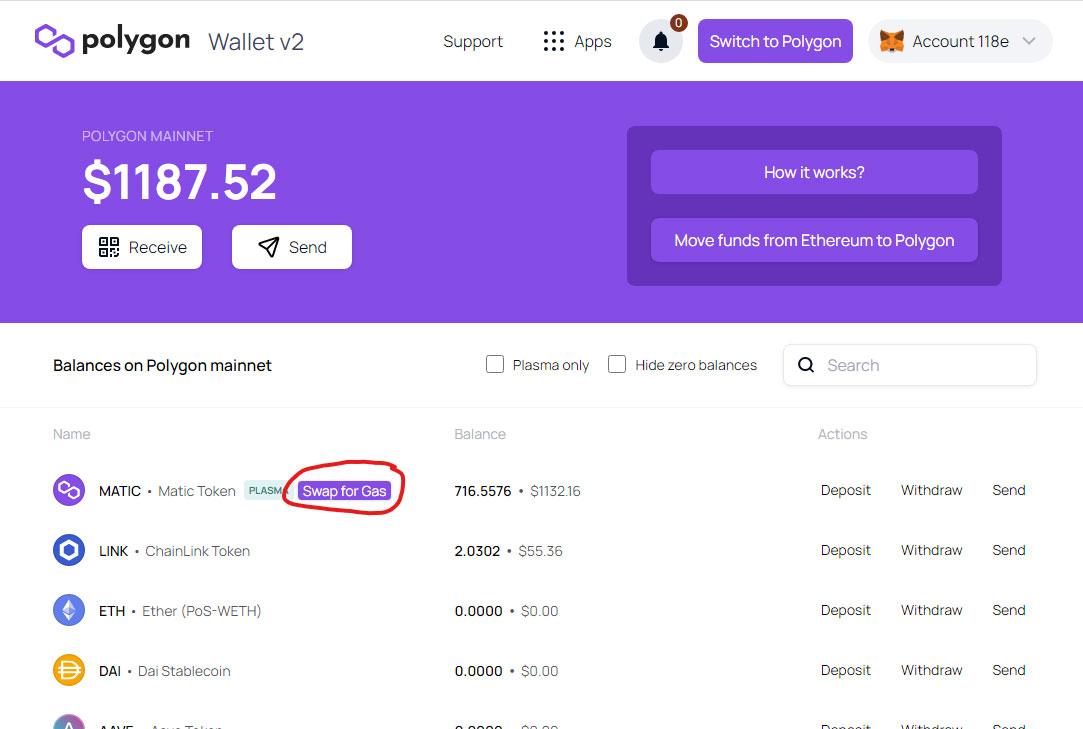
This will be a less-common circumstance, but you'll be able to convert to MATIC efficiently.
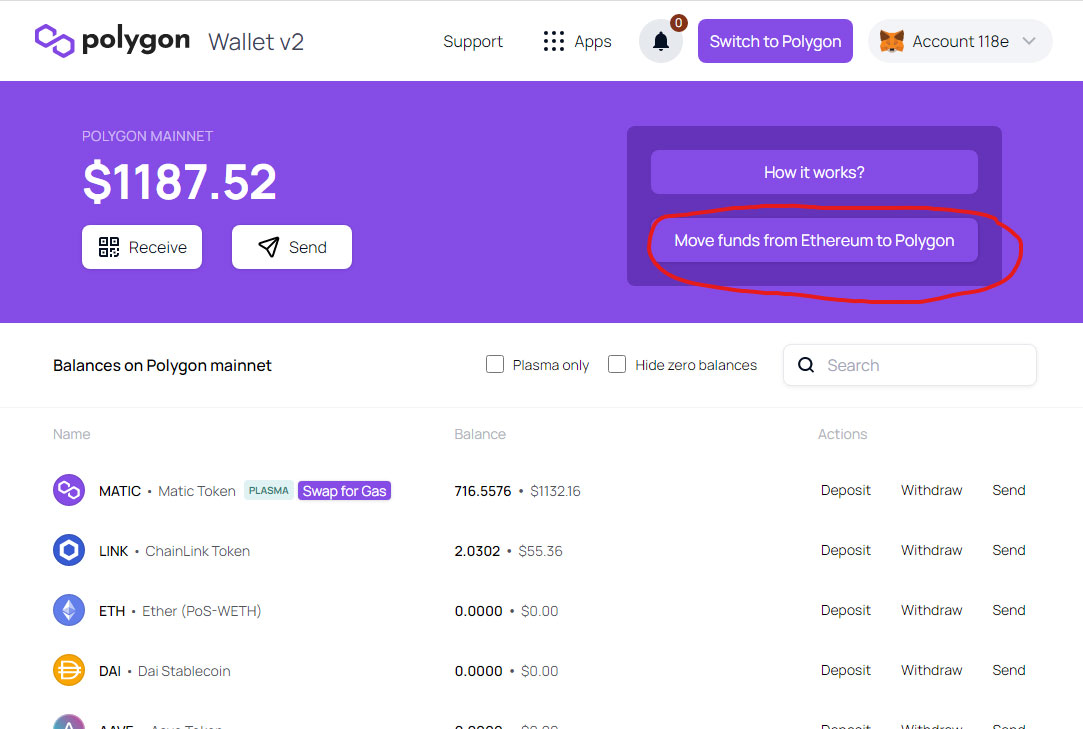
Move funds from Ethereum to Polygon
This is the more common option that users will need to select. You can select a wide range of currencies to send over to Polygon,
including MATIC on Ethereum, and swap them to the Polygon network. You can use this to swap to Polygon as well. This is a one-time
gas fee to get your currency over to the Polygon network. Once it is there, gas is almost non-existant.
First you will want to select "Move funds from ethereum to Polygon" as shown in the image below...
From here you will be prompted to select a currency to send over. In my example below I am sending over ETH.
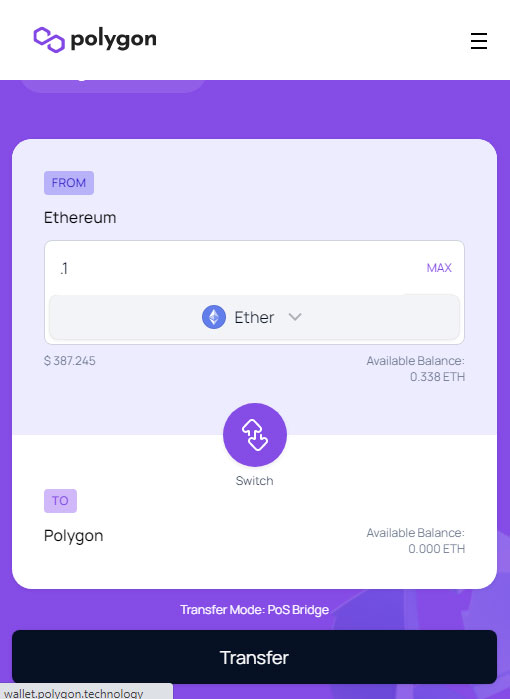

Continue through the prompt, and within about 7-8 minutes you will now see your currency available in your Polygon network.
If you did not send MATIC to Polygon, you'll want to use the "Swap for Gas" method listed above once the bridge has finished.
You can swap 20 MATIC at a time without spending gas.
Here is a link to the transaction shown in example.
Minting your Mike
Minting your Matic Mike is a fairly simple process. During our whitelist period, if you're on the whitelist, you should have been airdropped a small amount of matic on the polygon network.
This is to cover the small amount of gas that is required to do simple functions like mint, reroll, or stake your Mike. To mint your mike, first connect your wallet on the
main page here. Once you connect, if you haven't already switched to the Polygon Mainnet,
it will prompt you to do so.
After switching to the polygon network, all you need to do is click "Whitelist Mint" during the whitelist period (Thursday 10/20 at 6:30PM - 8:30PM Eastern Time). If it is
after 8:30PM you can still mint for free while the mint count is under 2500. Click on "Mint with 0 $HGH" to mint for free.

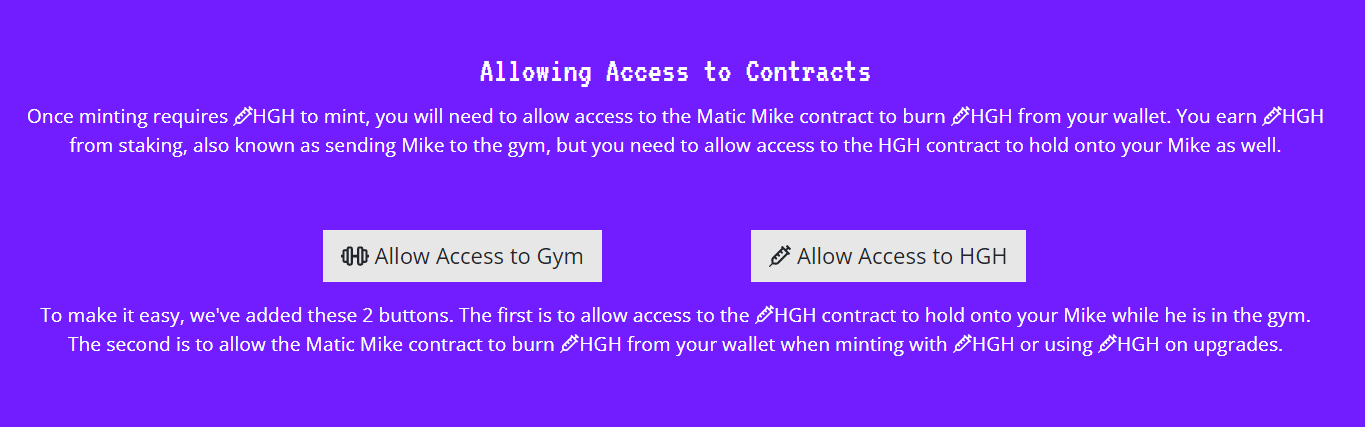
If it is past 2500 mints, the price will now be in either $HGH or MATIC. To mint with HGH, you must allow the contract to burn your $HGH you've earned by staking. If you haven't done so already,
click the button "Allow Access to HGH". This will enable the Matic Mike contract to use HGH you've earned to mint.
We'll cover staking your Mike (sending him to the gym) to earn $HGH in the next section below.
The final option is to mint with MATIC. We've covered how to get MATIC onto the polygon network above, so it is pretty straight forward. After 2500 mints you can click "Mint with 50 MATIC" to
mint another Mike with MATIC. There is a global limit on wallets to mint 10 per wallet.
Don't forget, there are free burn rerolls throughout minting activated sometime between 1500-2500 mints. This will allow you to burn your current Mike, and get a new Mike for free with
potentially better trait rarities. Look for the red "Burn Reroll" button underneath your Mike on the main page.
Sending Mike to the Gym (staking)
To earn your $HGH you will need to send Mike to the gym. Visit the Gym section of the site to send your
Mike to the gym and start earning HGH.
First, you will need to allow access to the gym as you'll be sending it to the contract to hold onto while you earn your precious $HGH. Do this by clicking "Allow Access to Gym"
You'll only need to do this one time per wallet, ever, so no need to continue to allow once you clicked it once.
From here, you'll be able to individually send each Mike to the gym, or send them all at once.
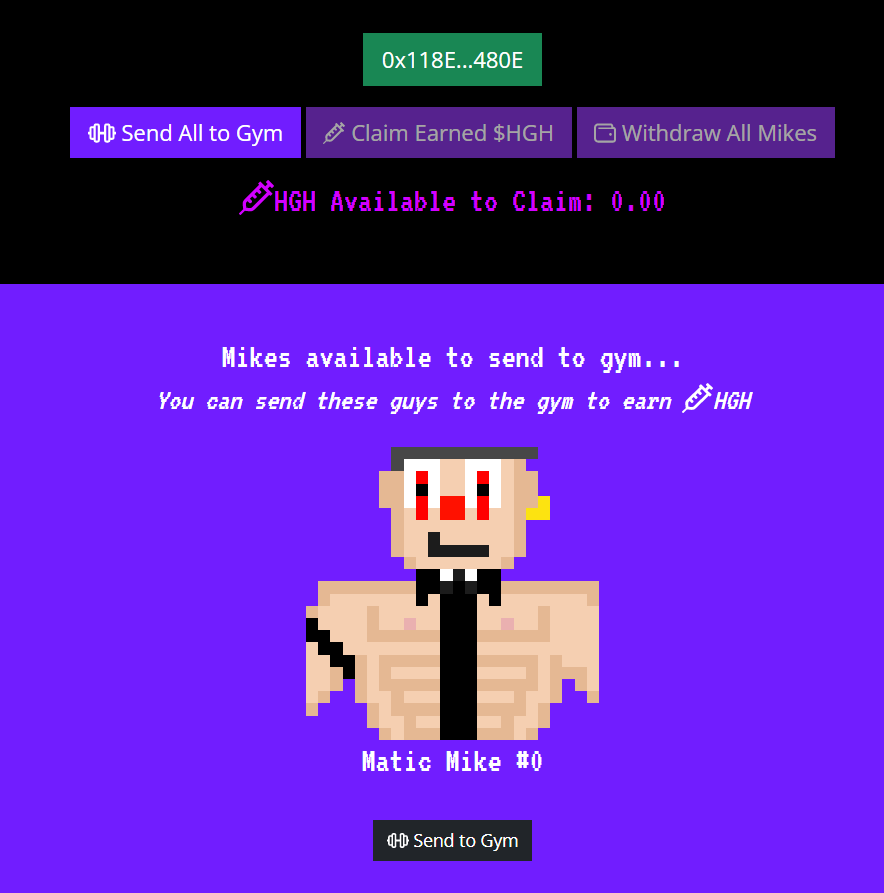
Each Mike earns 1 $HGH over the course of 24 hours they are in the gym. The more Mikes you have in the gym, the faster it will accumulate. You can
withdraw your $HGH without taking mike out of the gym by clicking "Claim Earned $HGH". If you want to take your Mike out of the gym you can individually click withdraw
on each Mike, or click "Withdraw All Mikes." You will claim all the $HGH they earned on withdrawal.
We will add content here tomorrow
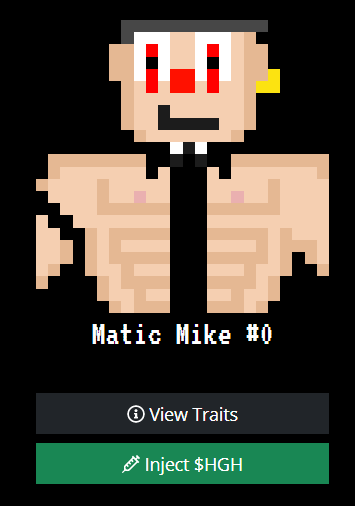
Using $HGH on your Matic Mike for a chance to Upgrade
The final thing to cover is injecting Mike with $HGH to have a 5.5% chance of upgrading or sidegrading the rarity of one of his random traits.
The process is simple, go to the main page in the your crew section and
an "Inject $HGH" button will appear under each of your Mikes. If you have enough $HGH you will see your Mike begin to shake, after about 1 minute you will
see the results. If your Mike stays the same, unfortunately he couldn't handle the $HGH you pumped into him and his traits stayed the same. If he juiced up,
you will see a random trait change both visibly and in the "View Traits" section of your Mike. You may need to refresh metadata on opensea for changes to take
effect.